
I was inspired by Emily Rose over at Simply Vintage Girl for the method of making the flower. I was initially concerned about the edges fraying so the method of burning the fabric was perfect as it seals the edges as well as giving a lovely effect.

Instructions:
1) Cut out 5 circles from the satin fabric, each one smaller than the last. Make sure you cut them slightly larger (approx 1/2") than you want them to be when finished as burning the edges will reduce the size.

2) Cut 4 - 5 lines into each of the circles and then snip the corners of each to create a soft flower shape.


3) I don't have a photo of this next step, I was alone in the house at the time and I'm too attached to my fingers to try to take a photo while hovering very close over a flame...but here's a picture of the tealight :)

Move each of the circles over the flame. Move it fairly quickly to avoid the fabric discolouring. For this stage I used tweezers to hold the fabric for extra safety (I'm not sure how old you are but if you're young make sure an adult helps you with this). This is what you should end up with.

4) Add the pieces of fabric together and either hold or pin secure whilst you sew them together. Make sure you secure the thread first.

5) Once you're happy that the layers are secure, do not cut the thread. Thread one bead and sew to secure, and then repeat with the other beads. Then tie the thread to secure and cut.


6) Set the flower to one side. This was my first time attempting machine embroidery. I had a little read around and it was recommended to use a tear away stabiliser with fine fabric - unfortunately I couldn't track this down in any local stores! A benefit of this would also be that you could trace the pattern on to the stabiliser. Without that I went free hand and to be honest didn't have any issues.
Cut out a section of tulle and fit to the embroidery hoop. Place on the sewing machine (this meant me removing both the needle and foot to initially get the hoop under!).

Secure the thread and then slowly sew your pattern. I went over each leaf three times to thicken the line. Once you have finished the pattern back stitch to secure. Cut the pattern out, leaving about 1/2cm of tulle around the edge. Lightly dot thread with clear nail varnish to further secure the thread (be careful not to go onto the tulle as this will clog up the material).

7) Add glue to the base of the flower and secure the tulle. Then cut out a small circle of felt and glue over the base of flower and leaf.


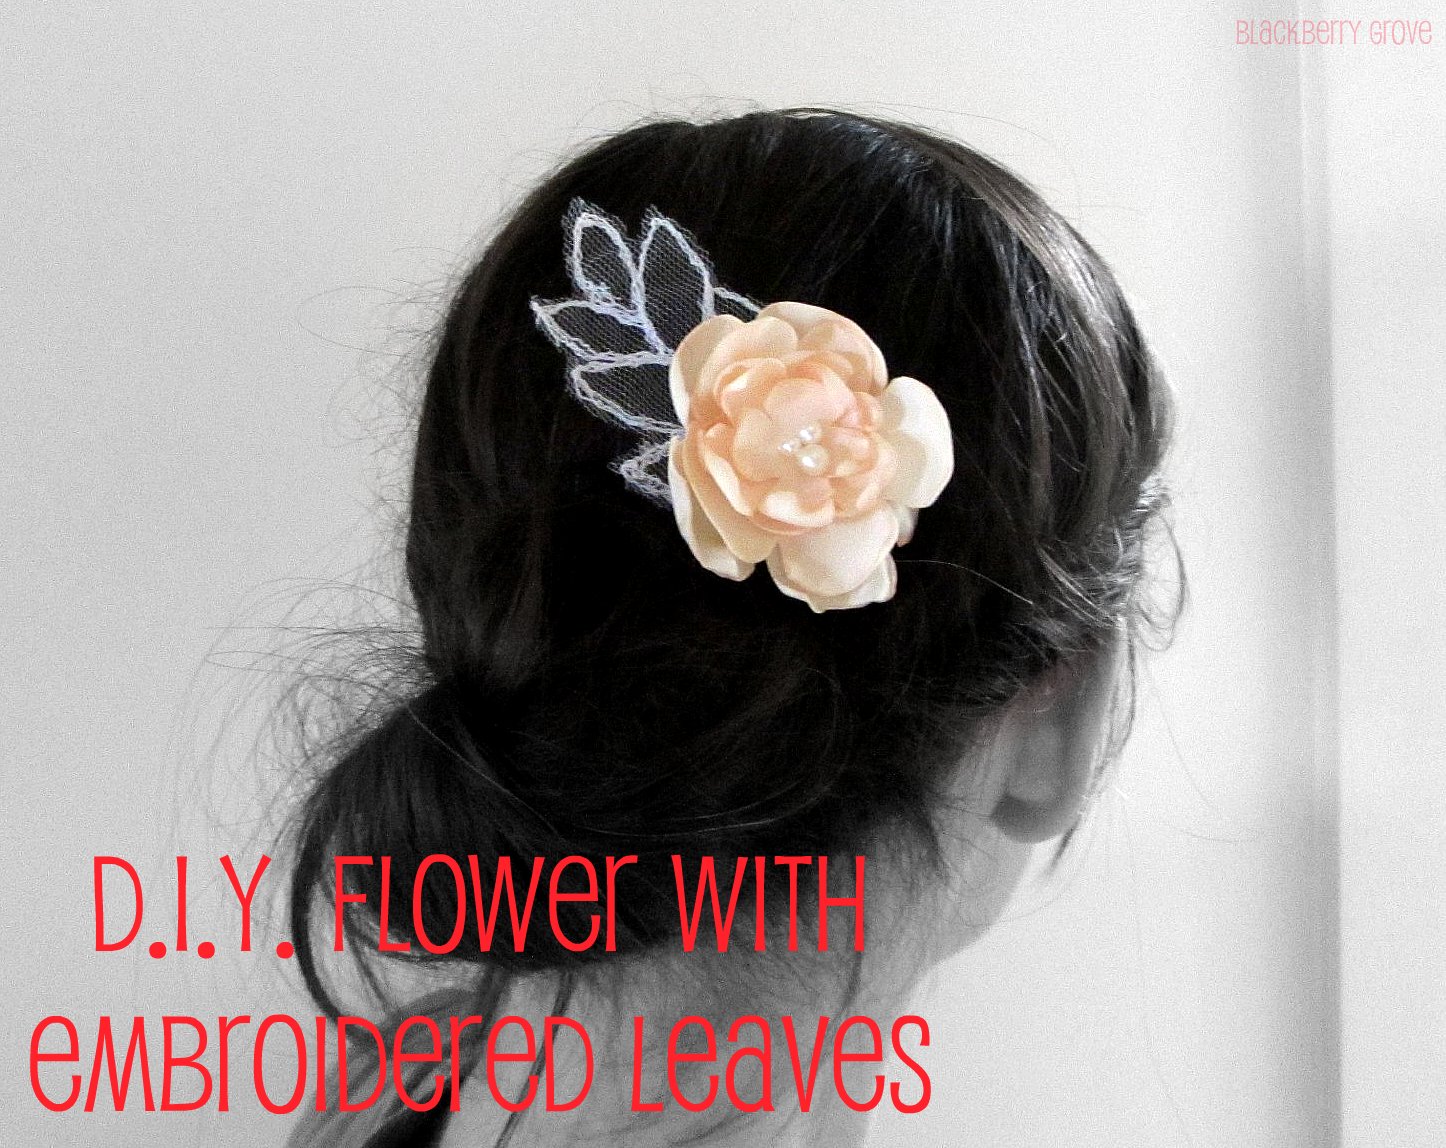
8) This could be turned into a number of things but I wanted to make a hair accessory so I simply glued a hair grip to the back and voila!


I hope you all enjoy making your beautiful flowers, I can't wait to see how this looked with my friends outfit. I'm planning on making this in a number of colours to adorn my summer wardrobe!
No comments:
Post a Comment